
The embellishment that I put on the front was a little altered. It originally said "Easy as Pie" but I wanted it to say "Made with Love". So, I scanned the paper into Photoshop. I used the patch tool to erase all the words and blend the background. Then I got my own type tool and looked for a font that seemed similar. After I was happy with the look, I printed it out on cardstock and cut it out with an exacto knife.


The tabs for each page were made using a 1.5" punch from EK Success.

Each page has two cards inside for ingredients and instructions. I tried to leave the front of each card blank so I can attach a picture of the finished meal.

I added depth to my embellishments by using 3D dots to pop them up.

My wonderful FMIL gave me envelopes to put on my pages. They looked so cute, but I have no idea who makes them. I think she might have made this one.

I used Studio G ink in a variety of colors to go around the edges of my pages and give them depth. The bottom strip of paper in the picture to the left was actually the cut off portion of a Sassafras paper. It had the title of the paper and the bar code on the back. Normally, you would throw it away, but it just looked so cute that I kept it.

The paper on the left side accidently got pasted on upside down. So I put a paper doilie on it to give it texture and to hide my mistake.
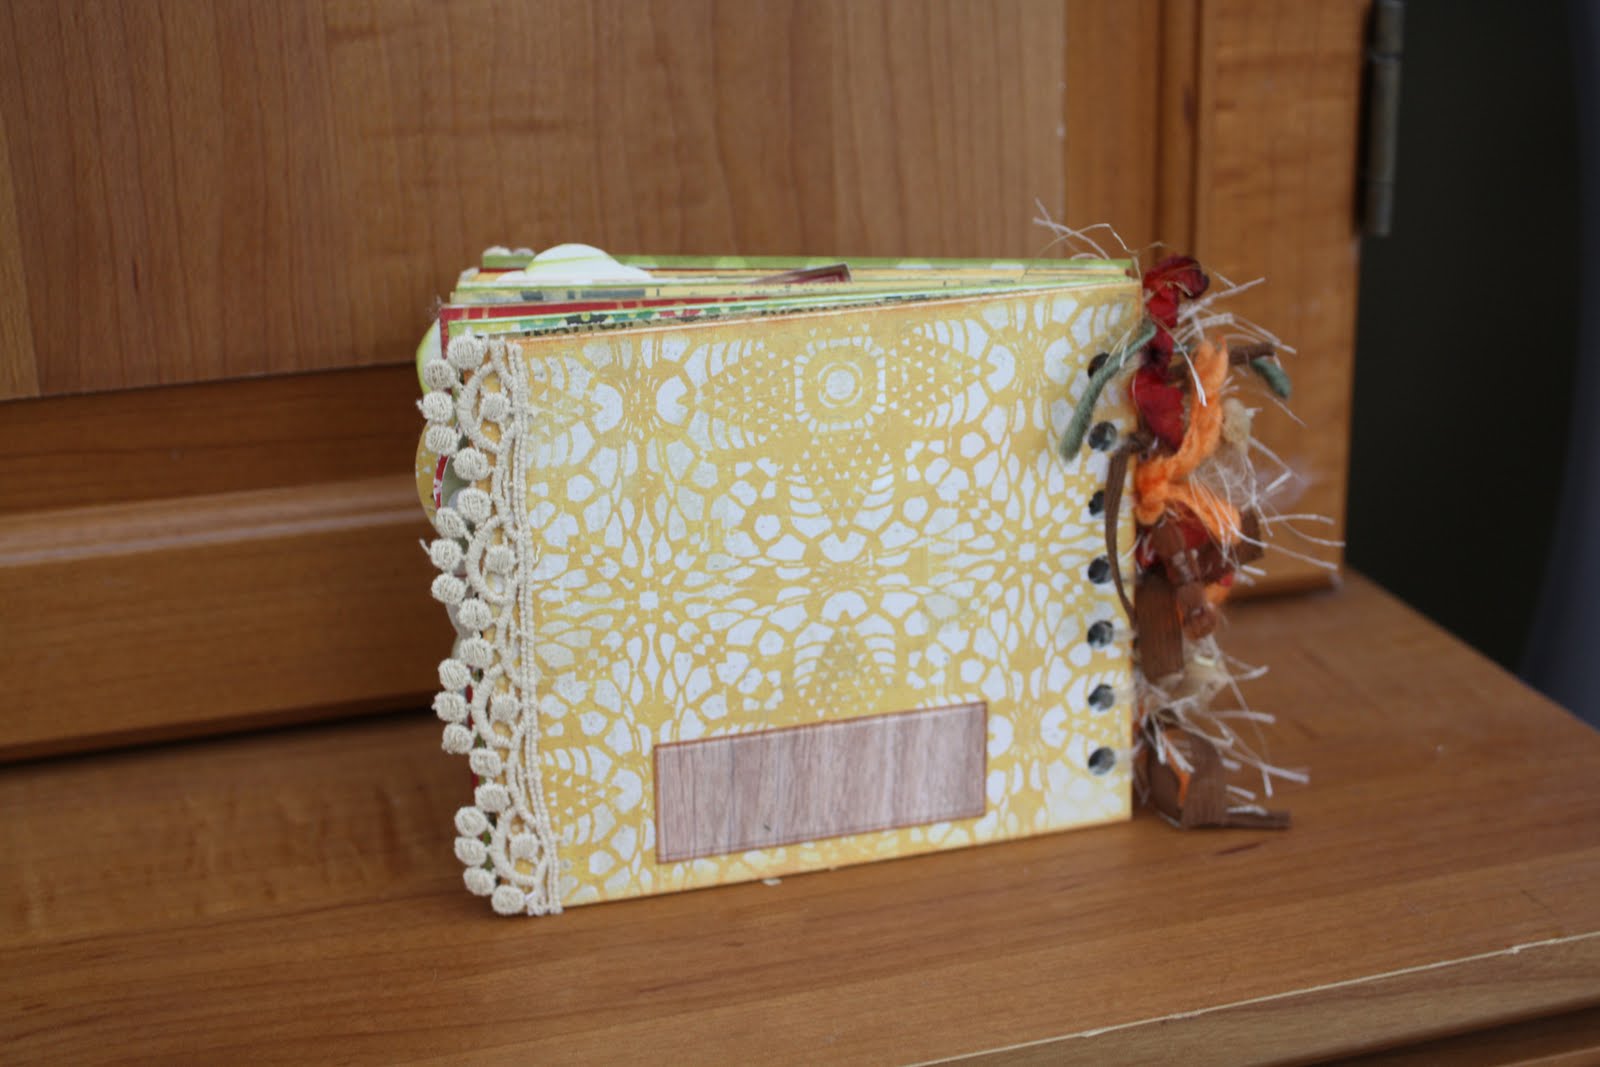
I wanted to have a spot on the back where I could write down the date or a sentiment if I wanted to give it as a gift.
I hope everyone enjoyed this little album as much as I did. I can't wait to add my photos and recipes to this little guy. I showed it to my FMIL and she decided to make one too! (Although her's is already looking better! LOL).
Materials Used:
Ink- Studio G
3D Dots- EK Success
Paper- October Afternoon- Seaside- Sailboat
Lilybee Design- Catching Fall- Cashmere Sweater
Crate Paper- Restoration Collection- Lace
Echo Park- For the Record- Fabric Store
Sassafras-Applejack- AJSLDSP - 11402
Type- Cosmo Cricket- Tiny Type
Adhesive- Terrifically Tacky Tape

No comments:
Post a Comment